XAML 与 C# 代码
XAML 与 C# 代码
您可以使用 XAML 来创建、初始化和设置对象的属性。也可以使用编程代码执行相同的活动。
XAML 只是设计 UI 元素的另一种简单易行的方法。使用 XAML,由您决定是要在 XAML 中声明对象还是使用代码声明它们。
让我们举一个简单的例子来演示如何用 XAML 编写 –
<Window x:Class = "XAMLVsCode.MainWindow"
   xmlns = "http://schemas.microsoft.com/winfx/2006/xaml/presentation"
   xmlns:x = "http://schemas.microsoft.com/winfx/2006/xaml" Title = "MainWindow" Height = "350" Width = "525">

   <StackPanel>
      <TextBlock Text = "Welcome to XAML Tutorial" Height = "20" Width = "200" Margin = "5"/>
      <Button Content = "Ok" Height = "20" Width = "60" Margin = "5"/>
   </StackPanel>

</Window>
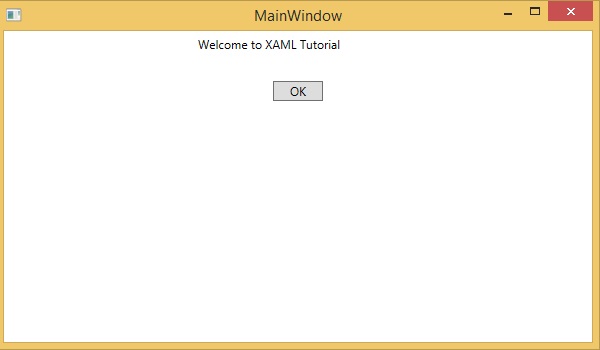
在这个例子中,我们创建了一个带有一个按钮和一个文本块的堆栈面板,并定义了按钮和文本块的一些属性,如高度、宽度和边距。当上面的代码被编译和执行时,它会产生以下输出 –

现在看一下用 C# 编写的相同代码。
using System;
using System.Text;
using System.Windows;
using System.Windows.Controls;

namespace XAMLVsCode {
   /// <summary>
      /// Interaction logic for MainWindow.xaml
   /// </summary>

   public partial class MainWindow : Window {
      public MainWindow() {
         InitializeComponent();

         // Create the StackPanel
         StackPanel stackPanel = new StackPanel();
         this.Content = stackPanel;

         // Create the TextBlock
         TextBlock textBlock = new TextBlock();
         textBlock.Text = "Welcome to XAML Tutorial";
         textBlock.Height = 20;
         textBlock.Width = 200;
         textBlock.Margin = new Thickness(5);
         stackPanel.Children.Add(textBlock);

         // Create the Button
         Button button = new Button();
         button.Content = "OK";
         button.Height = 20;
         button.Width = 50;
         button.Margin = new Thickness(20);
         stackPanel.Children.Add(button);
      }
   }
}
上述代码编译执行后,会产生如下输出。请注意,它与 XAML 代码的输出完全相同。
现在您可以看到使用和理解 XAML 是多么简单。
