ASP.NET MVC – 模型绑定
ASP.NET MVC – 模型绑定
ASP.NET MVC 模型绑定允许您使用模型映射 HTTP 请求数据。它是使用浏览器在 HTTP 请求中发送的数据创建 .NET 对象的过程。刚接触 ASP.Net MVC 的 ASP.NET Web Forms 开发人员最困惑的是,当 View 的值到达 Controller 类的 Action 方法时,它是如何转换为 Model 类的,因此这种转换是由 Model binder 完成的。
模型绑定是 HTTP 请求和 C# 操作方法之间精心设计的桥梁。它使开发人员可以轻松地处理表单(视图)上的数据,因为 POST 和 GET 会自动传输到您指定的数据模型中。ASP.NET MVC 使用默认绑定器在幕后完成此操作。
让我们看一个简单的例子,我们在上一章的项目中添加了一个“创建视图”,我们将看到如何从视图中获取这些值到 EmployeeController 操作方法。
以下是 POST 的 Create Action 方法。
// POST: Employee/Create
[HttpPost]
public ActionResult Create(FormCollection collection){
   try{
      // TODO: Add insert logic here
      return RedirectToAction("Index");
   }catch{
      return View();
   }
}
右键单击 Create Action 方法并选择 Add View…
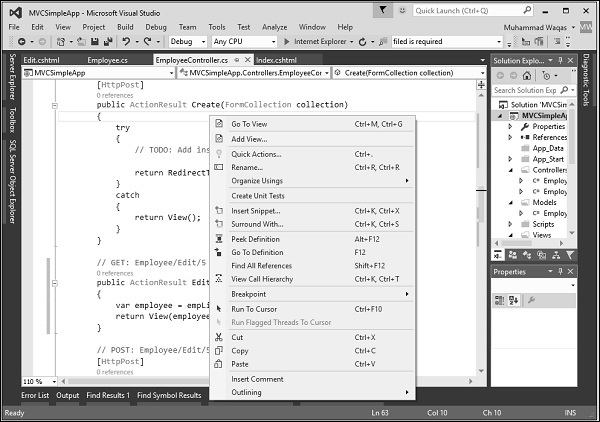
它将显示添加视图对话框。
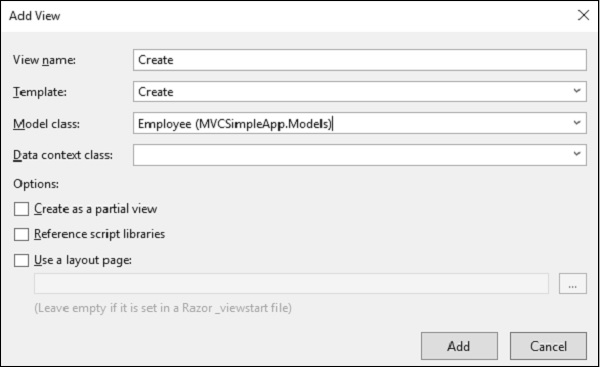
正如您在上面的屏幕截图中看到的,已经提到了默认名称。现在从模板下拉列表中选择创建,从模型类下拉列表中选择员工。
您将在 Create.cshtml 视图中看到默认代码。
@model MVCSimpleApp.Models.Employee
@{
   Layout = null;
}

<!DOCTYPE html>
<html>
   <head>
      <meta name = "viewport" content = "width = device-width" />
      <title>Create</title>
   </head>

   <body>
      @using (Html.BeginForm()){
         @Html.AntiForgeryToken()
         <div class = "form-horizontal">
            <h4>Employee</h4>
            <hr />
            @Html.ValidationSummary(true, "", new { @class = "text-danger" })

            <div class = "form-group">
               @Html.LabelFor(model => model.Name, htmlAttributes:
                  new{ @class = "control-label col-md-2" })

               <div class = "col-md-10">
                  @Html.EditorFor(model => model.Name, new{ htmlAttributes =
                     new { @class = "form-control" } })

                  @Html.ValidationMessageFor(model => model.Name, "",
                     new{ @class = "text-danger" })
               </div>
            </div>

            <div class = "form-group">
               @Html.LabelFor(model => model.JoiningDate, htmlAttributes:
                  new{ @class = "control-label col-md-2" })

               <div class = "col-md-10">
                  @Html.EditorFor(model => model.JoiningDate, new{ htmlAttributes =
                     new { @class = "form-control" } })

                  @Html.ValidationMessageFor(model => model.JoiningDate, "",
                     new { @class = "text-danger" })
               </div>
            </div>

            <div class = "form-group">
               @Html.LabelFor(model => model.Age, htmlAttributes:
                  new { @class = "control-label col-md-2" })

               <div class = "col-md-10">
                  @Html.EditorFor(model => model.Age, new { htmlAttributes =
                     new { @class = "form-control" } })

                  @Html.ValidationMessageFor(model => model.Age, "", new{ @class = "text-danger" })
               </div>
            </div>

            <div class = "form-group">
               <div class = "col-md-offset-2 col-md-10">
                  <input type = "submit" value = "Create" class = "btn btn-default"/>
               </div>
            </div>

         </div>
      }

      <div>
         @Html.ActionLink("Back to List", "Index")
      </div>

   </body>
</html>
当用户在 Create View 上输入值时,它在 FormCollection 和 Request.Form 中可用。我们可以使用这些值中的任何一个来填充视图中的员工信息。
让我们使用以下代码通过 FormCollection 创建 Employee。
// POST: Employee/Create
[HttpPost]
public ActionResult Create(FormCollection collection){
   try {
      Employee emp = new Employee();
      emp.Name = collection["Name"];
      DateTime jDate;
      DateTime.TryParse(collection["DOB"], out jDate);
      emp.JoiningDate = jDate;
      string age = collection["Age"];
      emp.Age = Int32.Parse(age);
      empList.Add(emp);
      return RedirectToAction("Index");
   }catch {
      return View();
   }
}
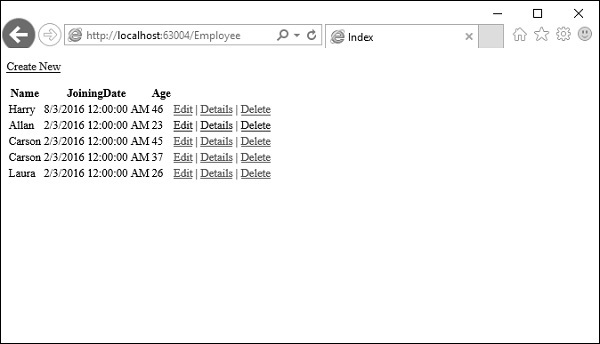
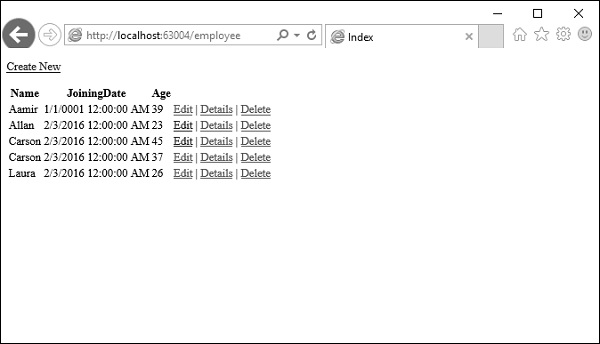
运行此应用程序并请求此 URL http://localhost:63004/Employee/。您将收到以下输出。

单击页面顶部的“新建”链接,它将转到以下视图。
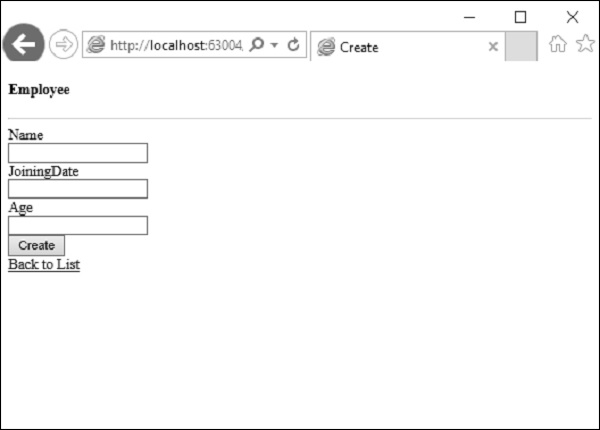
让我们为您要添加的另一名员工输入数据。
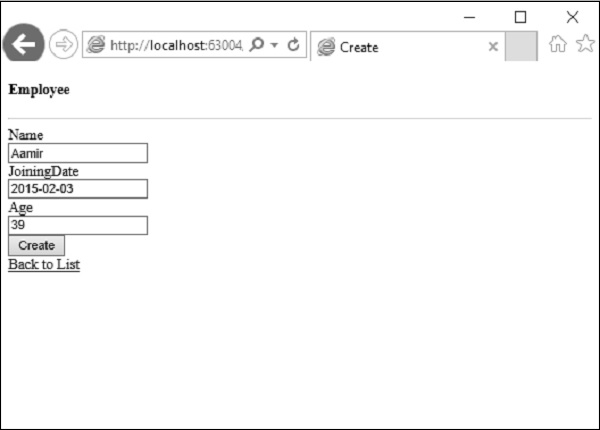
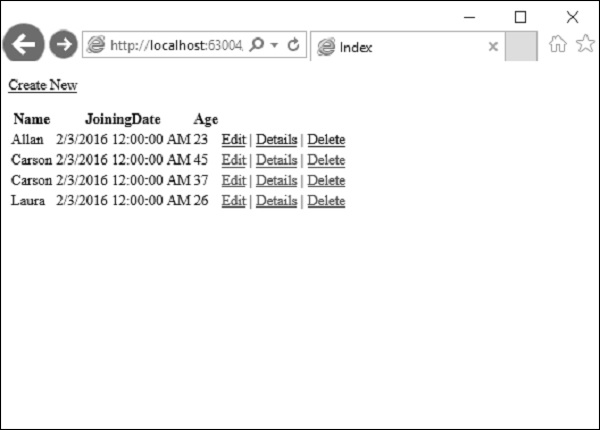
单击创建按钮,您将看到新员工已添加到您的列表中。
在上面的例子中,我们从 HTML 视图中获取所有发布的值,然后将这些值映射到 Employee 属性并一一分配它们。
在这种情况下,我们还将在发布的值与 Model 属性的格式不同的地方进行类型转换。
这也称为手动绑定,这种类型的实现对于简单和小数据模型可能不会那么糟糕。但是,如果您拥有庞大的数据模型并且需要大量类型转换,那么我们可以利用 ASP.NET MVC 模型绑定的强大功能和易用性。
让我们看一下我们为模型绑定所做的相同示例。
我们需要更改 Create Method 的参数以接受 Employee Model 对象而不是 FormCollection,如下面的代码所示。
// POST: Employee/Create
[HttpPost]
public ActionResult Create(Employee emp){
   try{
      empList.Add(emp);
      return RedirectToAction("Index");
   }catch{
      return View();
   }
}
现在模型绑定的魔力取决于提供值的 HTML 变量的 id。
对于我们的员工模型,HTML 输入字段的 id 应该与员工模型的属性名称相同,您可以看到 Visual Studio 在创建视图时使用模型的相同属性名称。
@Html.EditorFor(model => model.Name, new { htmlAttributes = new { @class = "form-control" } })
默认情况下,映射将基于属性名称。这是我们会发现 HTML 辅助方法非常有用的地方,因为这些辅助方法将生成 HTML,它将具有模型绑定工作的正确名称。
运行此应用程序并请求 URL http://localhost:63004/Employee/。您将看到以下输出。
让我们单击页面顶部的 Create New 链接,它将转到以下视图。

让我们输入要添加的另一名员工的数据。
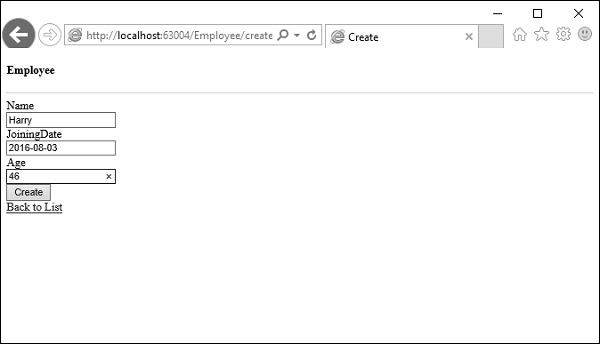
现在单击创建按钮,您将看到使用 ASP.Net MVC 模型绑定将新员工添加到您的列表中。