Silverlight – 印刷
Silverlight – 印刷
对于某些类型的应用程序来说,打印是一项重要的功能。在本章中,我们将了解 Silverlight 中的相关设施。
-
打印 API,以及所有 Silverlight 应用程序要打印时必须执行的基本步骤。用于选择水印的各种选项。
-
最简单的方法是打印屏幕上已有的用户界面元素的副本。
-
大多数应用程序都希望获得比这更先进的内容,并生成专门适用于打印的内容,并且在某些情况下,需要将内容拆分到多个页面上。
打印步骤
无论您是打印快照或屏幕上已有的内容,还是要进行完全自定义的多页打印输出,都需要相同的基本步骤。
-
打印 API 的核心是 PrintDocument 类。
-
您首先构建其中之一,当您调用它的 Print 方法时,它会显示用于启动打印作业的标准用户界面。
-
用户可以像往常一样选择打印机并配置设置。如果用户随后决定通过单击Print 继续,则PrintDocument将立即引发其PrintPage事件,并且该事件的处理程序提供要打印的内容。
-
为此,事件参数提供了一个PageVisual属性。
-
您可以将其设置为任何 Silverlight 用户界面元素,可以是屏幕上已经可见的元素,也可以是您专门为打印而创建的新元素。
打印现有元素
元素 最简单的选择是打印 Silverlight 应用程序屏幕上已有的内容。由于PrintPage事件参数PageVisual接受任何用户界面元素,因此您可以选择用户界面中的任何内容并打印它。
-
这只是使用 PrintScreen 键抓取屏幕截图的一小步。它比这略好一些,因为用户不必手动将屏幕截图粘贴到其他程序中以对其进行裁剪和打印。这仍然只是轻微的改进。
-
打印已经在屏幕上的内容是有问题的。
-
首先,不能保证在屏幕上工作的布局对纸张也能很好地工作。
让我们看一个简单的示例,其中ScrollViewer包含一些 UI 元素及其适合屏幕的布局。它根据浏览器窗口大小调整大小,并提供滚动条以确保即使不合适也可以访问所有内容。
下面给出的是 XAML 代码。
<UserControl
   xmlns = "http://schemas.microsoft.com/winfx/2006/xaml/presentation"
   xmlns:x = "http://schemas.microsoft.com/winfx/2006/xaml"
   xmlns:d = "http://schemas.microsoft.com/expression/blend/2008"
   xmlns:mc = "http://schemas.openxmlformats.org/markup-compatibility/2006"
   xmlns:sdk = "http://schemas.microsoft.com/winfx/2006/xaml/presentation/sdk"
   x:Class = "SilverlightPrinting.MainPage"
   mc:Ignorable = "d"
   d:DesignHeight = "300" d:DesignWidth = "500">

   <Grid x:Name = "LayoutRoot" Background = "White">

      <Button x:Name = "print" Content = "Print" Click = "print_Click" Width = "60"
         Height = "20" Margin = "10,10,430,270"/>

      <ScrollViewer x:Name = "myScrollViewer"
         HorizontalScrollBarVisibility = "Auto"
         VerticalScrollBarVisibility = "Auto"
         Width = "400" Margin = "90,0,10,0">

         <StackPanel>
            <Rectangle Fill = "Gray" Width = "100" Height = "100" />
            <Button x:Name = "button" Content = "Button" Width = "75"/>
            <sdk:Calendar Height = "169" Width = "230"/>
            <Rectangle Fill = "AliceBlue" Width = "475" Height = "100" />
         </StackPanel>

      </ScrollViewer>

   </Grid>

</UserControl>
这是打印按钮单击事件的实现,它将打印ScrollViewer及其可见数据。
using System;
using System.Windows;
using System.Windows.Controls;
using System.Windows.Printing;

namespace SilverlightPrinting {

   public partial class MainPage : UserControl {

      public MainPage() {
         InitializeComponent();
      }

      private void print_Click(object sender, RoutedEventArgs e) {
         PrintDocument pd = new PrintDocument();
         pd.PrintPage += new System.EventHandler<PrintPageEventArgs>(pd_PrintPage);
         pd.Print("Print Screen Content");
      }

      private void pd_PrintPage(object sender, PrintPageEventArgs e) {
         e.PageVisual = myScrollViewer;
      }
   }
}
-
如您所见,在创建PrintDocument对象的Print 按钮单击事件中,我们将处理程序附加到其 PrintPage 事件。
-
您可以将PageVisual属性设置为引用ScrollViewer。
-
然后调用Print 方法。这需要一个字符串,它将在打印队列中显示为作业名称。
当上面的代码编译执行后,你会看到下面的输出。
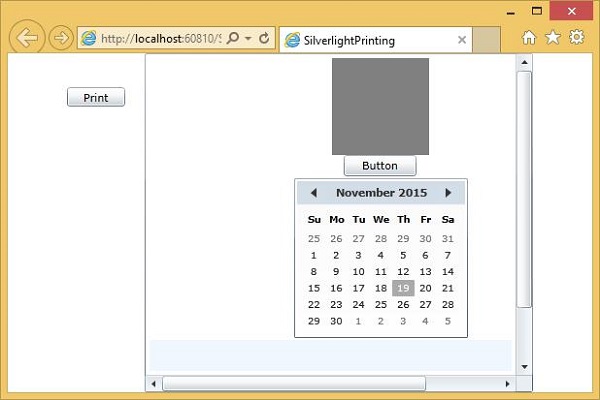
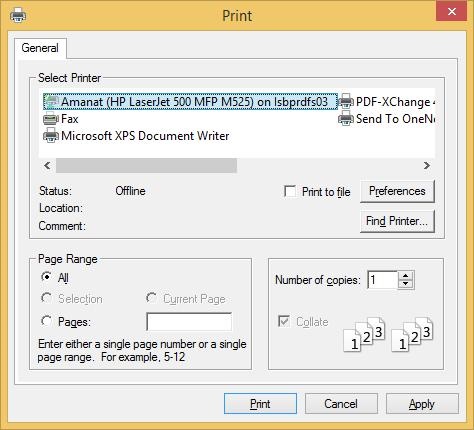
当您单击“打印”按钮时,您将看到标准的“打印”对话框。
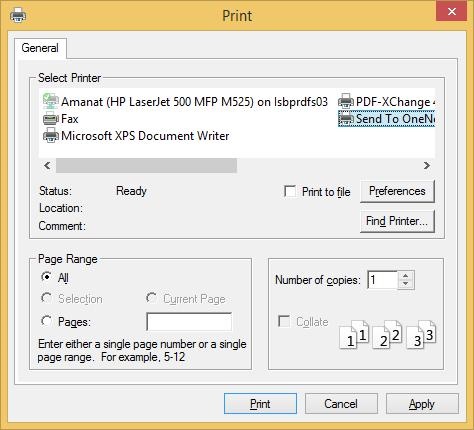
现在,选择默认打印机。出于演示的目的,让我们选择OneNote并单击打印按钮。您将看到ScrollViewer已打印。

请注意,滚动条在ScrollViewer上仍然可见。
自定义 UI 树
与打印屏幕上已经存在的内容不同,构建专门用于打印的用户界面元素树通常更有意义。这样,您可以确保仅在纸张上使用非交互式元素,并且可以创建更适合纸张形状和尺寸的专门布局。您可以创建一个仅用于打印的 UserControl。
让我们通过创建一个 Silverlight 项目并添加一个名为PrintLayout的UserControl 来看看一个简单的示例。
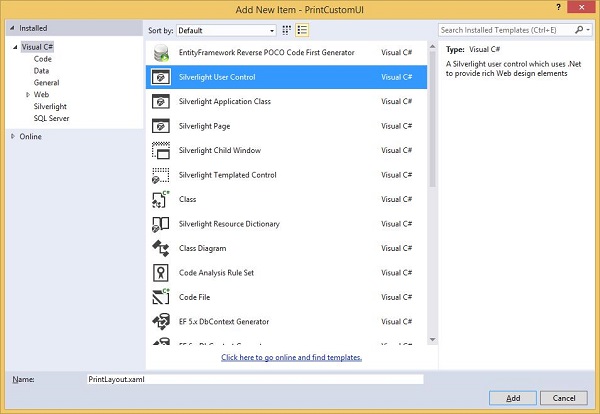
将设计时的宽度和高度设置为近似纸形。下面给出的是PrintLayout.xaml文件的 XAML 代码。
<UserControl x:Class = "PrintCustomUI.PrintLayout"
   xmlns = "http://schemas.microsoft.com/winfx/2006/xaml/presentation"
   xmlns:x = "http://schemas.microsoft.com/winfx/2006/xaml"
   xmlns:d = "http://schemas.microsoft.com/expression/blend/2008"
   xmlns:mc = "http://schemas.openxmlformats.org/markup-compatibility/2006"
   mc:Ignorable = "d"
   d:DesignHeight = "768" d:DesignWidth = "960">

   <Grid x:Name = "LayoutRoot" Background = "White">

      <Grid.RowDefinitions>
         <RowDefinition Height = "Auto" />
         <RowDefinition />
         <RowDefinition Height = "Auto" />
      </Grid.RowDefinitions>

      <TextBlock Text = "Silverlight" HorizontalAlignment = "Center"
         FontSize = "60" FontWeight = "Bold" FontFamily = "Georgia" />

      <TextBlock Grid.Row = "2" Text = "Print Testing"
         HorizontalAlignment = "Center" FontFamily = "Georgia"
         FontSize = "24" Margin = "0,10"/>

      <Rectangle Grid.Row = "2" Height = "1" Fill = "Black"
         VerticalAlignment = "Top"/>

      <Ellipse Grid.Row = "1" Stroke = "Black" StrokeThickness = "10" Margin = "10">

         <Ellipse.Fill>

            <RadialGradientBrush
               GradientOrigin = "0.2,0.2"
               Center = "0.4,0.4">
               <GradientStop Color = "Aqua" Offset = "0.006" />
               <GradientStop Color = "AntiqueWhite" Offset = "1" />
            </RadialGradientBrush>

         </Ellipse.Fill>

      </Ellipse>

   </Grid>

</UserControl>
下面给出的是MainPage.xaml文件中的代码,其中仅包含一个打印按钮。
<UserControl x:Class = "PrintCustomUI.MainPage"
   xmlns = "http://schemas.microsoft.com/winfx/2006/xaml/presentation"
   xmlns:x = "http://schemas.microsoft.com/winfx/2006/xaml"
   xmlns:d = "http://schemas.microsoft.com/expression/blend/2008"
   xmlns:mc = "http://schemas.openxmlformats.org/markup-compatibility/2006"
   mc:Ignorable = "d"
   d:DesignHeight = "300" d:DesignWidth = "400">

   <Grid x:Name = "LayoutRoot" Background = "White">

      <Button Content = "Print..." Height = "23" HorizontalAlignment = "Left"
         Margin = "12,28,0,0" Name = "printButton"
         VerticalAlignment = "Top" Width = "75"
         Click = "printButton_Click" />

   </Grid>

</UserControl>
这是打印按钮的Click 事件实现。
using System;
using System.Collections.Generic;
using System;

using System.Windows;
using System.Windows.Controls;
using System.Windows.Printing;

namespace PrintCustomUI {

   public partial class MainPage : UserControl {

      public MainPage() {
         InitializeComponent();
      }

      private void printButton_Click(object sender, RoutedEventArgs e) {
         PrintDocument pd = new PrintDocument();
         pd.PrintPage += new EventHandler<PrintPageEventArgs>(pd_PrintPage);
         pd.Print("Custom");
      }

      void pd_PrintPage(object sender, PrintPageEventArgs e) {
         var pl = new PrintLayout();
         pl.Width = e.PrintableArea.Width;
         pl.Height = e.PrintableArea.Height;
         e.PageVisual = pl;
      }
   }
}
上述代码编译执行后,会在网页上看到如下输出。
单击打印并选择OneNote以打印布局。您将看到布局已打印。
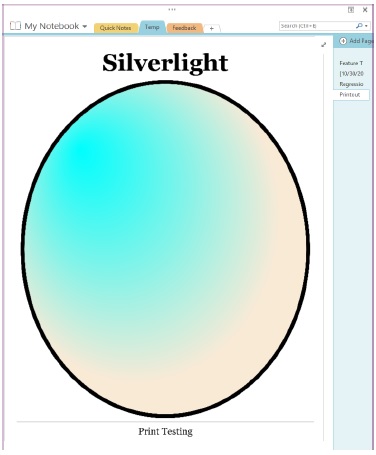
可以看到它已经填满了可用空间。我们建议您执行上述示例以更好地理解。
