MVVM——第一个应用程序
MVVM——第一个应用程序
在本章中,我们将学习如何将 MVVM 模式用于简单的输入屏幕和您可能已经习惯的 WPF 应用程序。
让我们看一个简单的例子,我们将在其中使用 MVVM 方法。
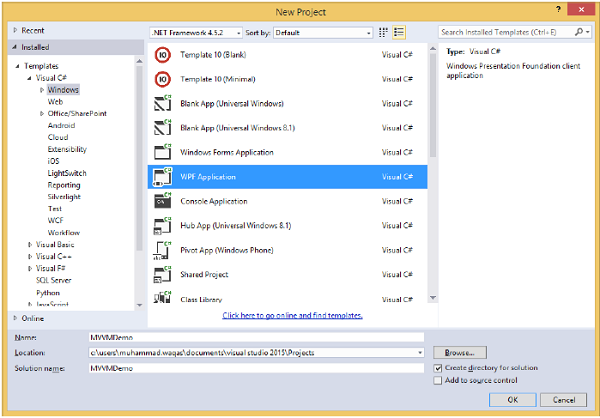
步骤 1 – 创建一个新的 WPF 应用程序项目 MVVMDemo。
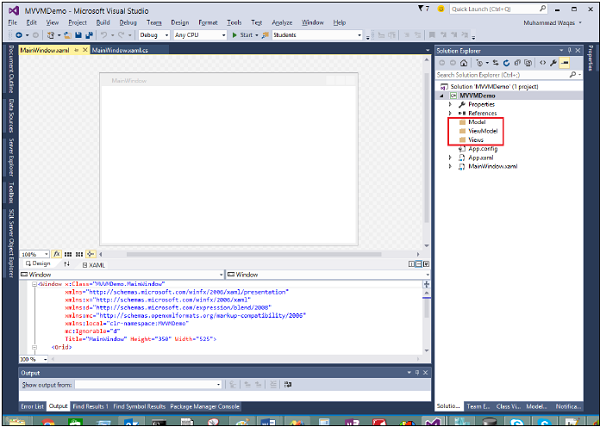
第 2 步– 将三个文件夹(模型、视图模型和视图)添加到您的项目中。
步骤 3 – 在 Model 文件夹中添加一个 StudentModel 类并将以下代码粘贴到该类中
using System.ComponentModel;

namespace MVVMDemo.Model {

   public class StudentModel {}

   public class Student : INotifyPropertyChanged {
      private string firstName;
      private string lastName;

      public string FirstName {
         get {
            return firstName;
         }

         set {
            if (firstName != value) {
               firstName = value;
               RaisePropertyChanged("FirstName");
               RaisePropertyChanged("FullName");
            }
         }
      }

      public string LastName {
         get {return lastName; }

         set {
            if (lastName != value) {
               lastName = value;
               RaisePropertyChanged("LastName");
               RaisePropertyChanged("FullName");
            }
         }
      }

      public string FullName {
         get {
            return firstName + " " + lastName;
         }
      }

      public event PropertyChangedEventHandler PropertyChanged;

      private void RaisePropertyChanged(string property) {
         if (PropertyChanged != null) {
            PropertyChanged(this, new PropertyChangedEventArgs(property));
         }
      }
   }
}
第 4 步– 将另一个 StudentViewModel 类添加到 ViewModel 文件夹中并粘贴以下代码。
using MVVMDemo.Model;
using System.Collections.ObjectModel;

namespace MVVMDemo.ViewModel {

   public class StudentViewModel {

      public ObservableCollection<Student> Students {
         get;
         set;
      }

      public void LoadStudents() {
         ObservableCollection<Student> students = new ObservableCollection<Student>();

         students.Add(new Student { FirstName = "Mark", LastName = "Allain" });
         students.Add(new Student { FirstName = "Allen", LastName = "Brown" });
         students.Add(new Student { FirstName = "Linda", LastName = "Hamerski" });

         Students = students;
      }
   }
}
第 5 步– 通过右键单击“视图”文件夹并选择“添加”>“新项目”来添加新的用户控件(WPF)…
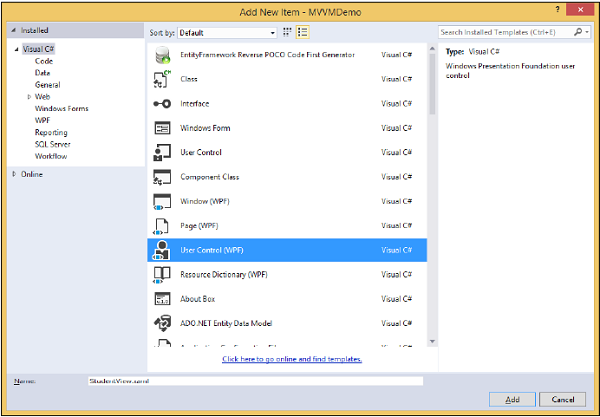
步骤 6 – 单击添加按钮。现在您将看到 XAML 文件。将以下代码添加到包含不同 UI 元素的 StudentView.xaml 文件中。
<UserControl x:Class = "MVVMDemo.Views.StudentView"
   xmlns = "http://schemas.microsoft.com/winfx/2006/xaml/presentation"
   xmlns:x = "http://schemas.microsoft.com/winfx/2006/xaml"
   xmlns:mc = "http://schemas.openxmlformats.org/markup-compatibility/2006"
   xmlns:d = "http://schemas.microsoft.com/expression/blend/2008"
   xmlns:local = "clr-namespace:MVVMDemo.Views"
   mc:Ignorable = "d"
   d:DesignHeight = "300" d:DesignWidth = "300">

   <Grid>
      <StackPanel HorizontalAlignment = "Left">

         <ItemsControl ItemsSource = "{Binding Path = Students}">

            <ItemsControl.ItemTemplate>
               <DataTemplate>
                  <StackPanel Orientation = "Horizontal">
                     <TextBox Text = "{Binding Path = FirstName, Mode = TwoWay}"
                        Width = "100" Margin = "3 5 3 5"/>

                     <TextBox Text = "{Binding Path = LastName, Mode = TwoWay}"
                        Width = "100" Margin = "0 5 3 5"/>

                     <TextBlock Text = "{Binding Path = FullName, Mode = OneWay}"
                        Margin = "0 5 3 5"/>

                  </StackPanel>
               </DataTemplate>
            </ItemsControl.ItemTemplate>

         </ItemsControl>

      </StackPanel>
   </Grid>

</UserControl>
第 7 步– 现在使用以下代码将 StudentView 添加到 MainPage.xaml 文件中。
<Window x:Class = "MVVMDemo.MainWindow"
   xmlns = "http://schemas.microsoft.com/winfx/2006/xaml/presentation"
   xmlns:x = "http://schemas.microsoft.com/winfx/2006/xaml"
   xmlns:d = "http://schemas.microsoft.com/expression/blend/2008"
   xmlns:mc = "http://schemas.openxmlformats.org/markup-compatibility/2006"
   xmlns:local = "clr-namespace:MVVMDemo"
   xmlns:views = "clr-namespace:MVVMDemo.Views"
   mc:Ignorable = "d"
   Title = "MainWindow" Height = "350" Width = "525">

   <Grid>
      <views:StudentView x:Name = "StudentViewControl" Loaded = "StudentViewControl_Loaded"/>
   </Grid>

</Window>
第 8 步– 这是 MainPage.xaml.cs 文件中 Loaded 事件的实现,它将从 ViewModel 更新视图。
using System.Windows;

namespace MVVMDemo {

   /// <summary>
      /// Interaction logic for MainWindow.xaml
   /// </summary>

   public partial class MainWindow : Window {

      public MainWindow() {
         InitializeComponent();
      }

      private void StudentViewControl_Loaded(object sender, RoutedEventArgs e) {
         MVVMDemo.ViewModel.StudentViewModel studentViewModelObject =
            new MVVMDemo.ViewModel.StudentViewModel();
         studentViewModelObject.LoadStudents();

         StudentViewControl.DataContext = studentViewModelObject;
      }
   }
}
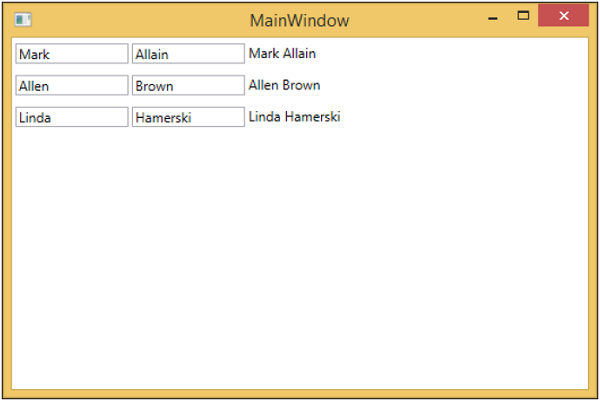
步骤 9 – 编译并执行上述代码后,您将在主窗口中收到以下输出。
我们建议您逐步执行上述示例,以便更好地理解。
